The Your Night Photography to the Next Level with Light Painting
When I say light painting, I have a few certain techniques in mind. Light painting done properly can dramatically enhance your night images, but it can easily be overdone. Here are a few tips and tricks to help you nuance the light into your night photo to make it a seamless addition to the scene.
Use Your iPhone Screen
I’ve always made the most of what’s available to me and I found expensive lighting and panels aren’t always necessary. I’ve used my iPhone to light countless night scenes! In fact, I absolutely love the soft cool blue light that comes from just the screen. All you have to do is turn on your phone, face the screen towards the subject you want highlighted and wave your phone back and forth a few times to distribute the light evenly to avoid hot spots.
This technique is best used for subjects close in the foreground. Often times I’ll use the iPhone light to help highlight and separate a subject from the rest of the foreground. I used this technique to help bring out certain elements of the foreground in all of the images below.

I focused the screen light on the top of the Red Indian Paintbrush to help it stand out in the field of Bluebonnets.
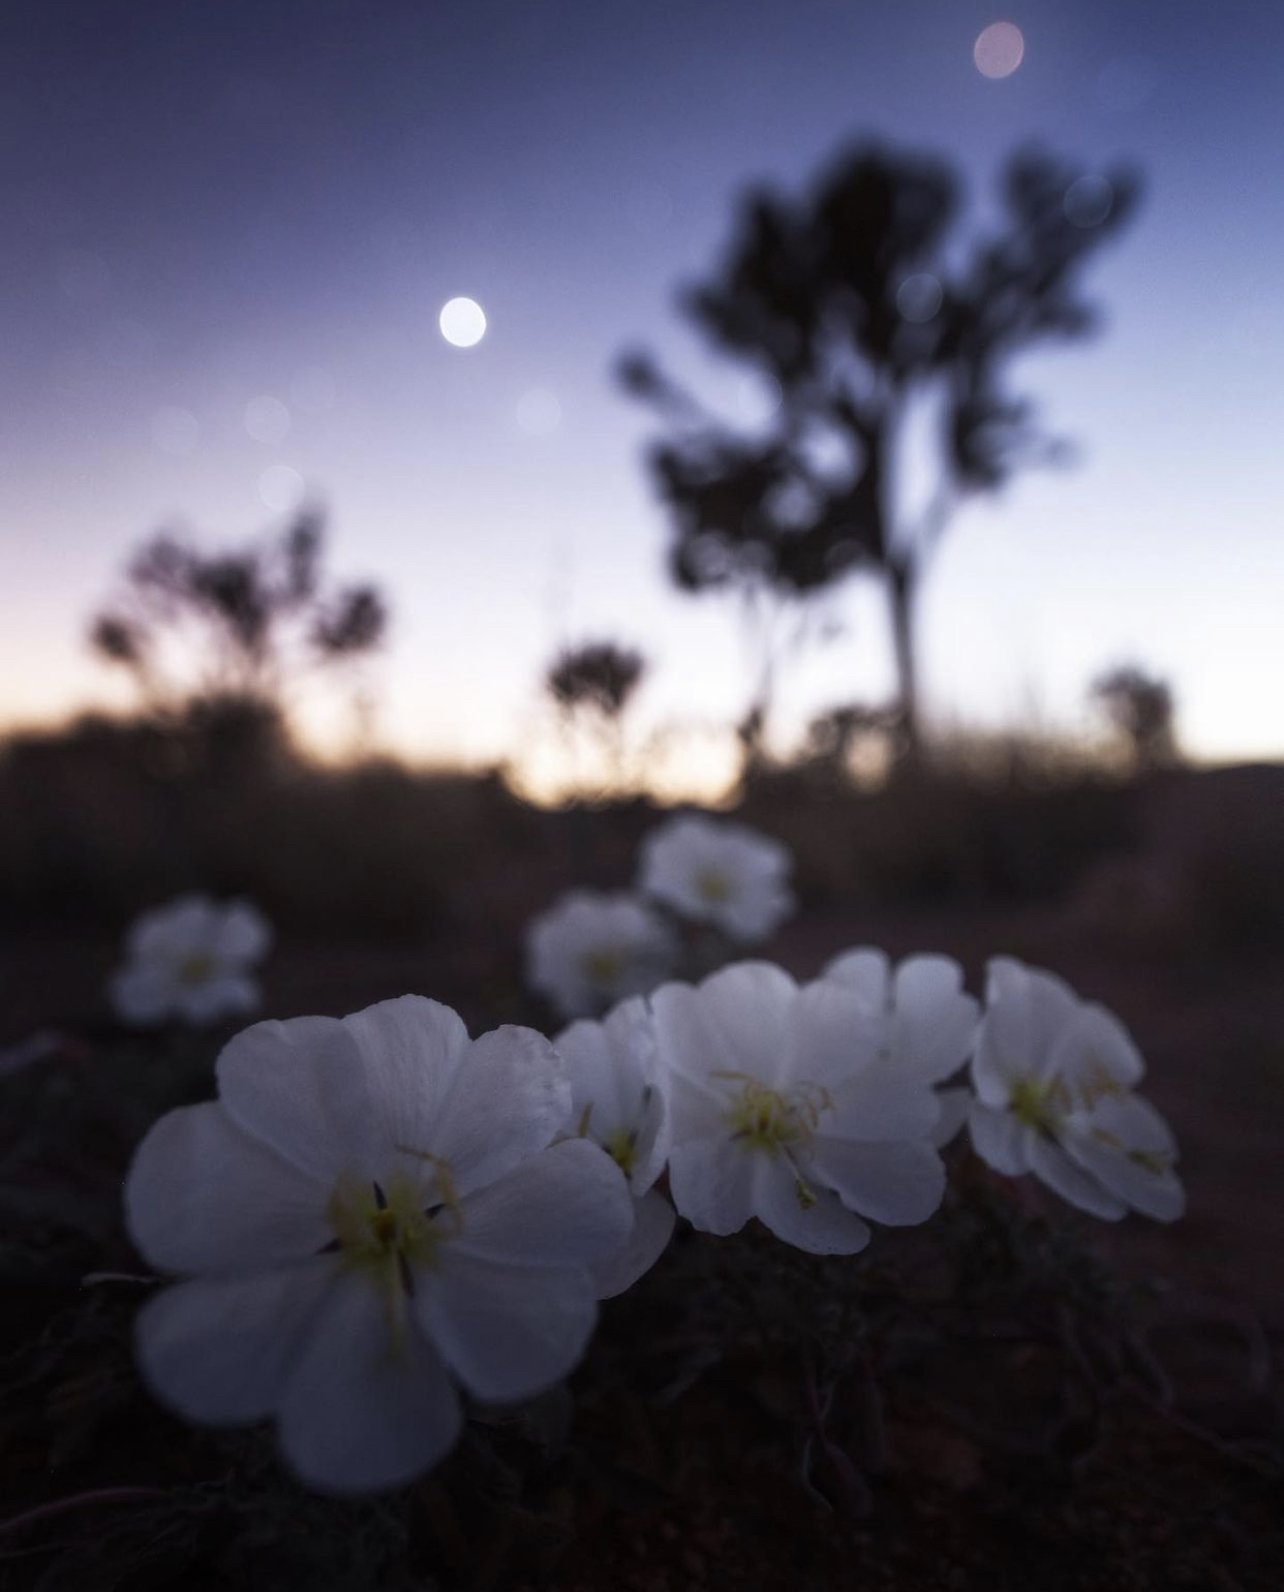
I focused the screen light on the top of the flowers to help give depth to the whole scene since these little guys take up a 3rd of the frame.

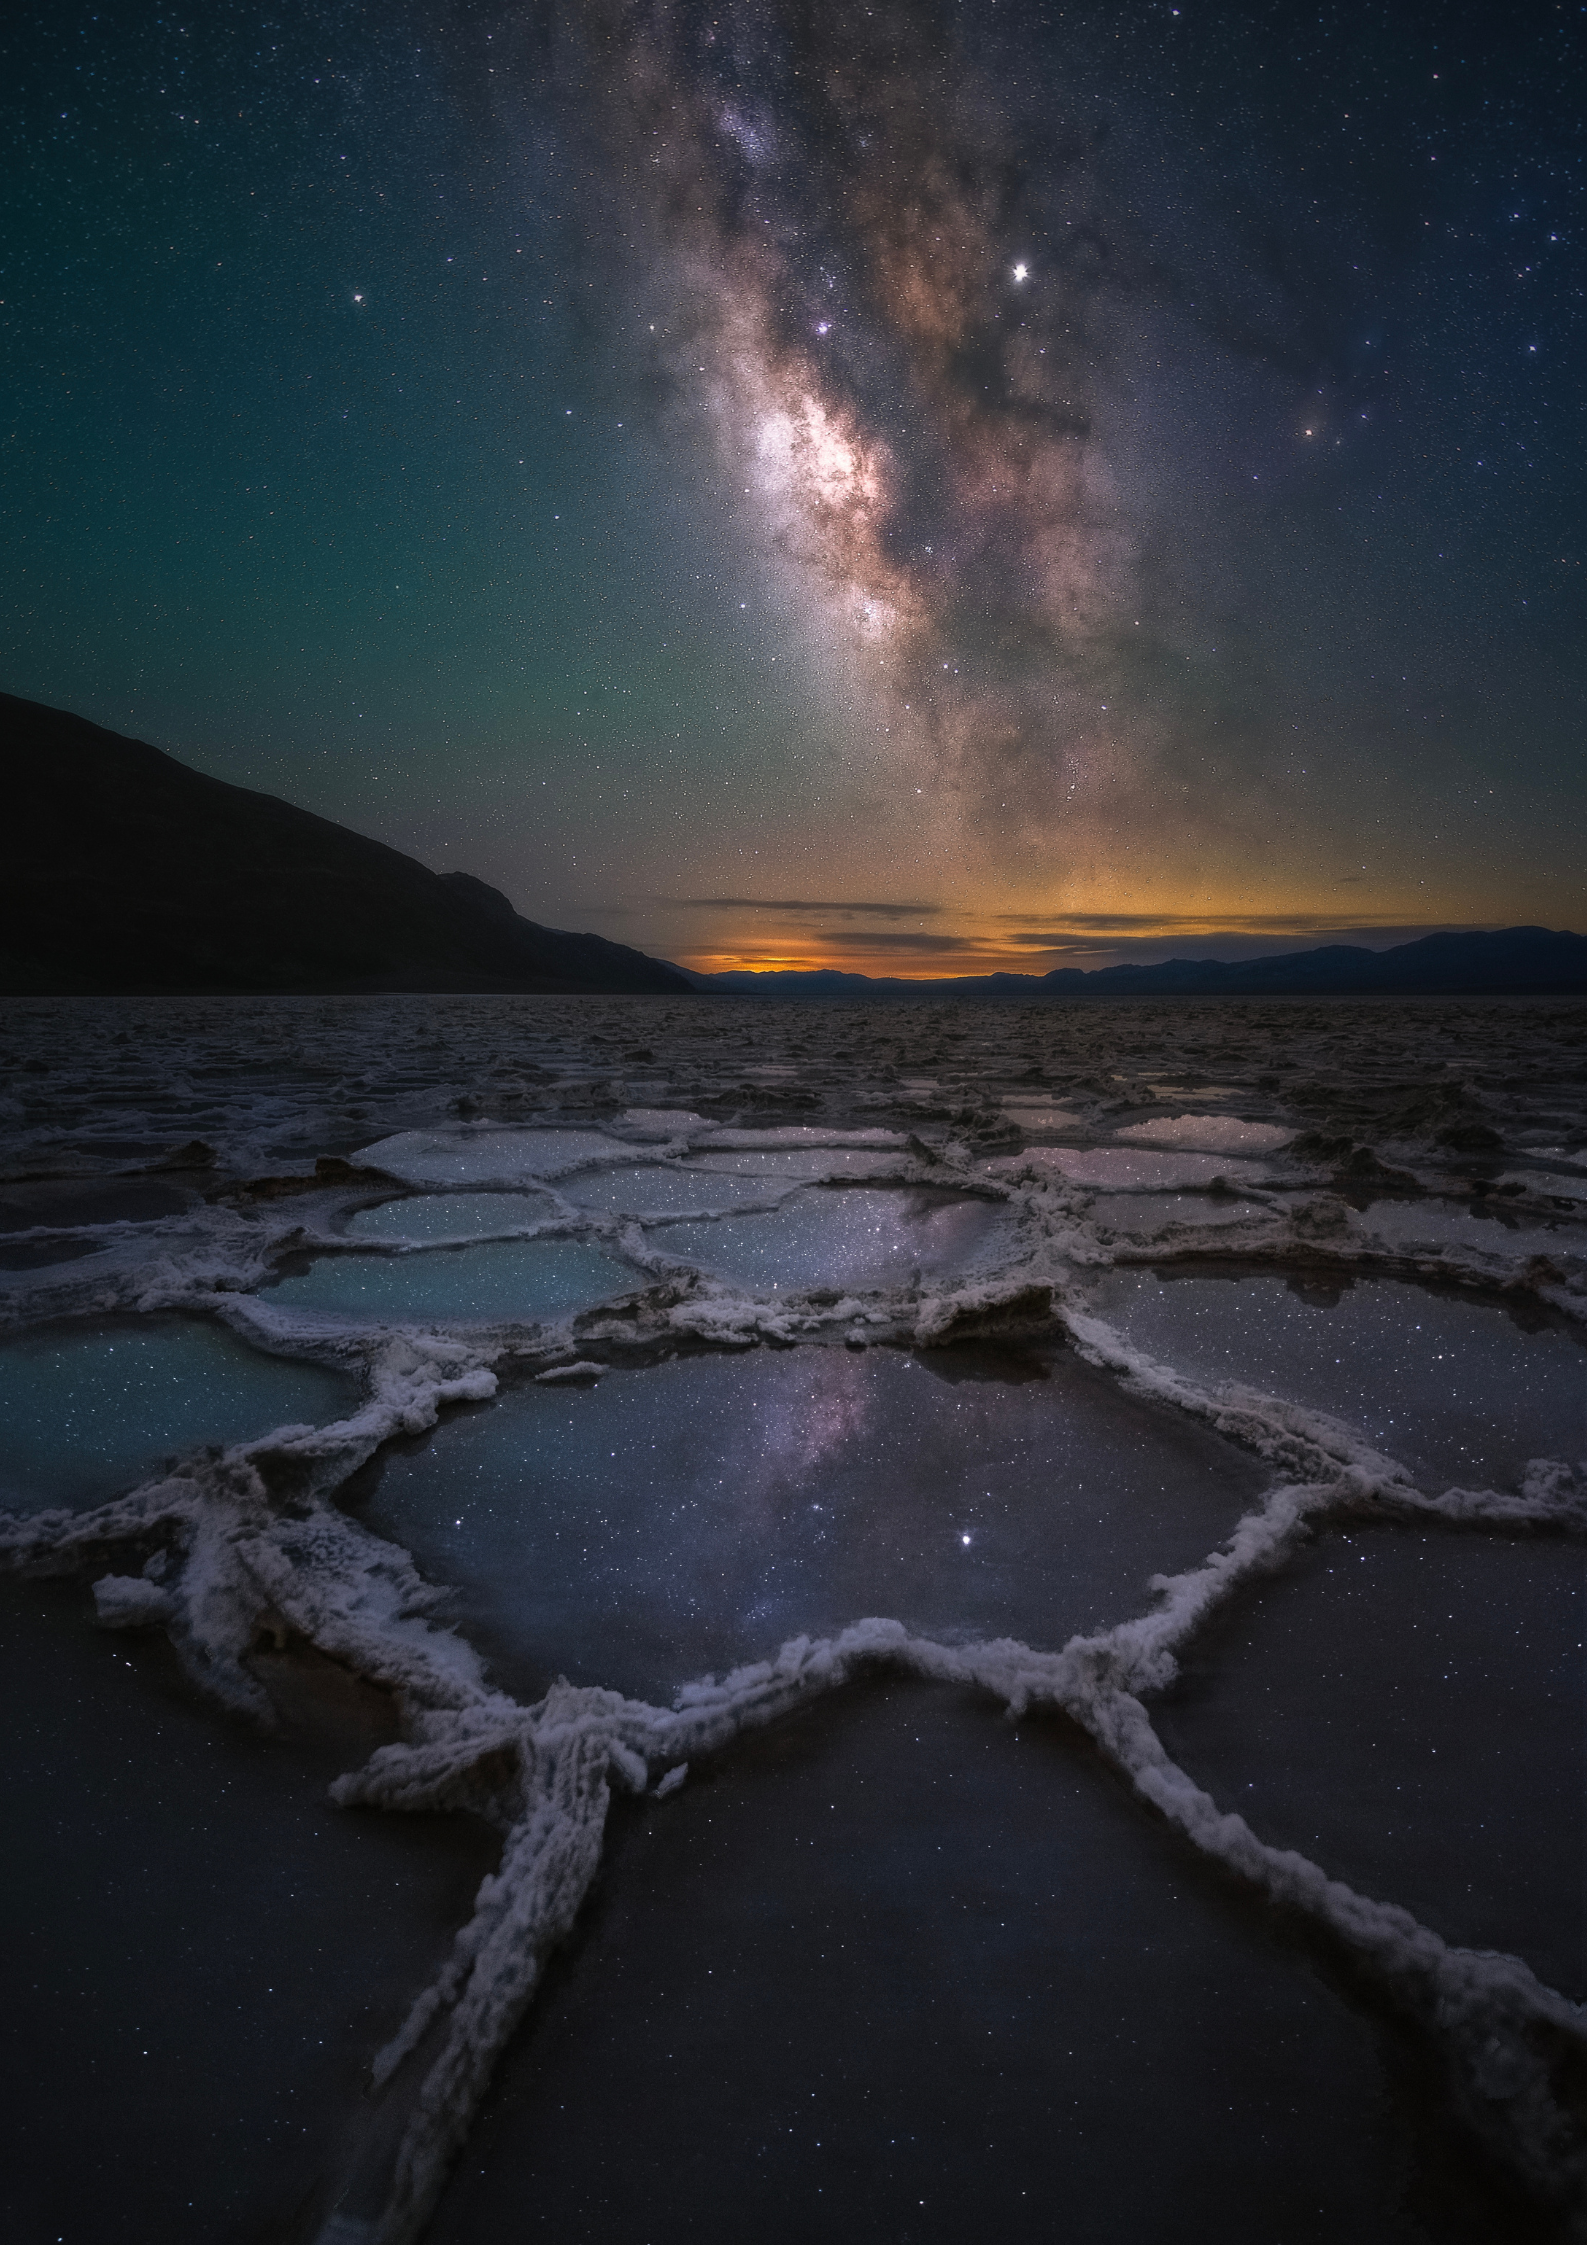
I focused the screen light on the top of the raised salt lines to help it stand out and add depth to the entire scene.

Cholla needles are incredible and catching light! I focused the screen light on the top of the needles to help give depth to the whole cactus.
Use Your Headlamp
Your headlamp can be used multiple ways to help light a night scene. One way I love utilizing the headlamp is putting on a person and having that person stand in frame. Not only does the provide a light source and draws your eye in, it really helps tell a story and show off scaling.
Most importantly, it can help light a scene like that other techniques seem to come short on. Illuminating part of the foreground is often difficult since that usually requires a light source out of frame lighting up the entire scene. A headlamp allows us to have the light source visible in frame, which lets us pick any part of the foreground to light up.

Using the headlamp allows you to point the light source in a specific direction, creating a leading line from the corner to the center of the frame.
(This image was taken prior to the light painting rules in Arches National Park, it’s now unfortunately prohibited)

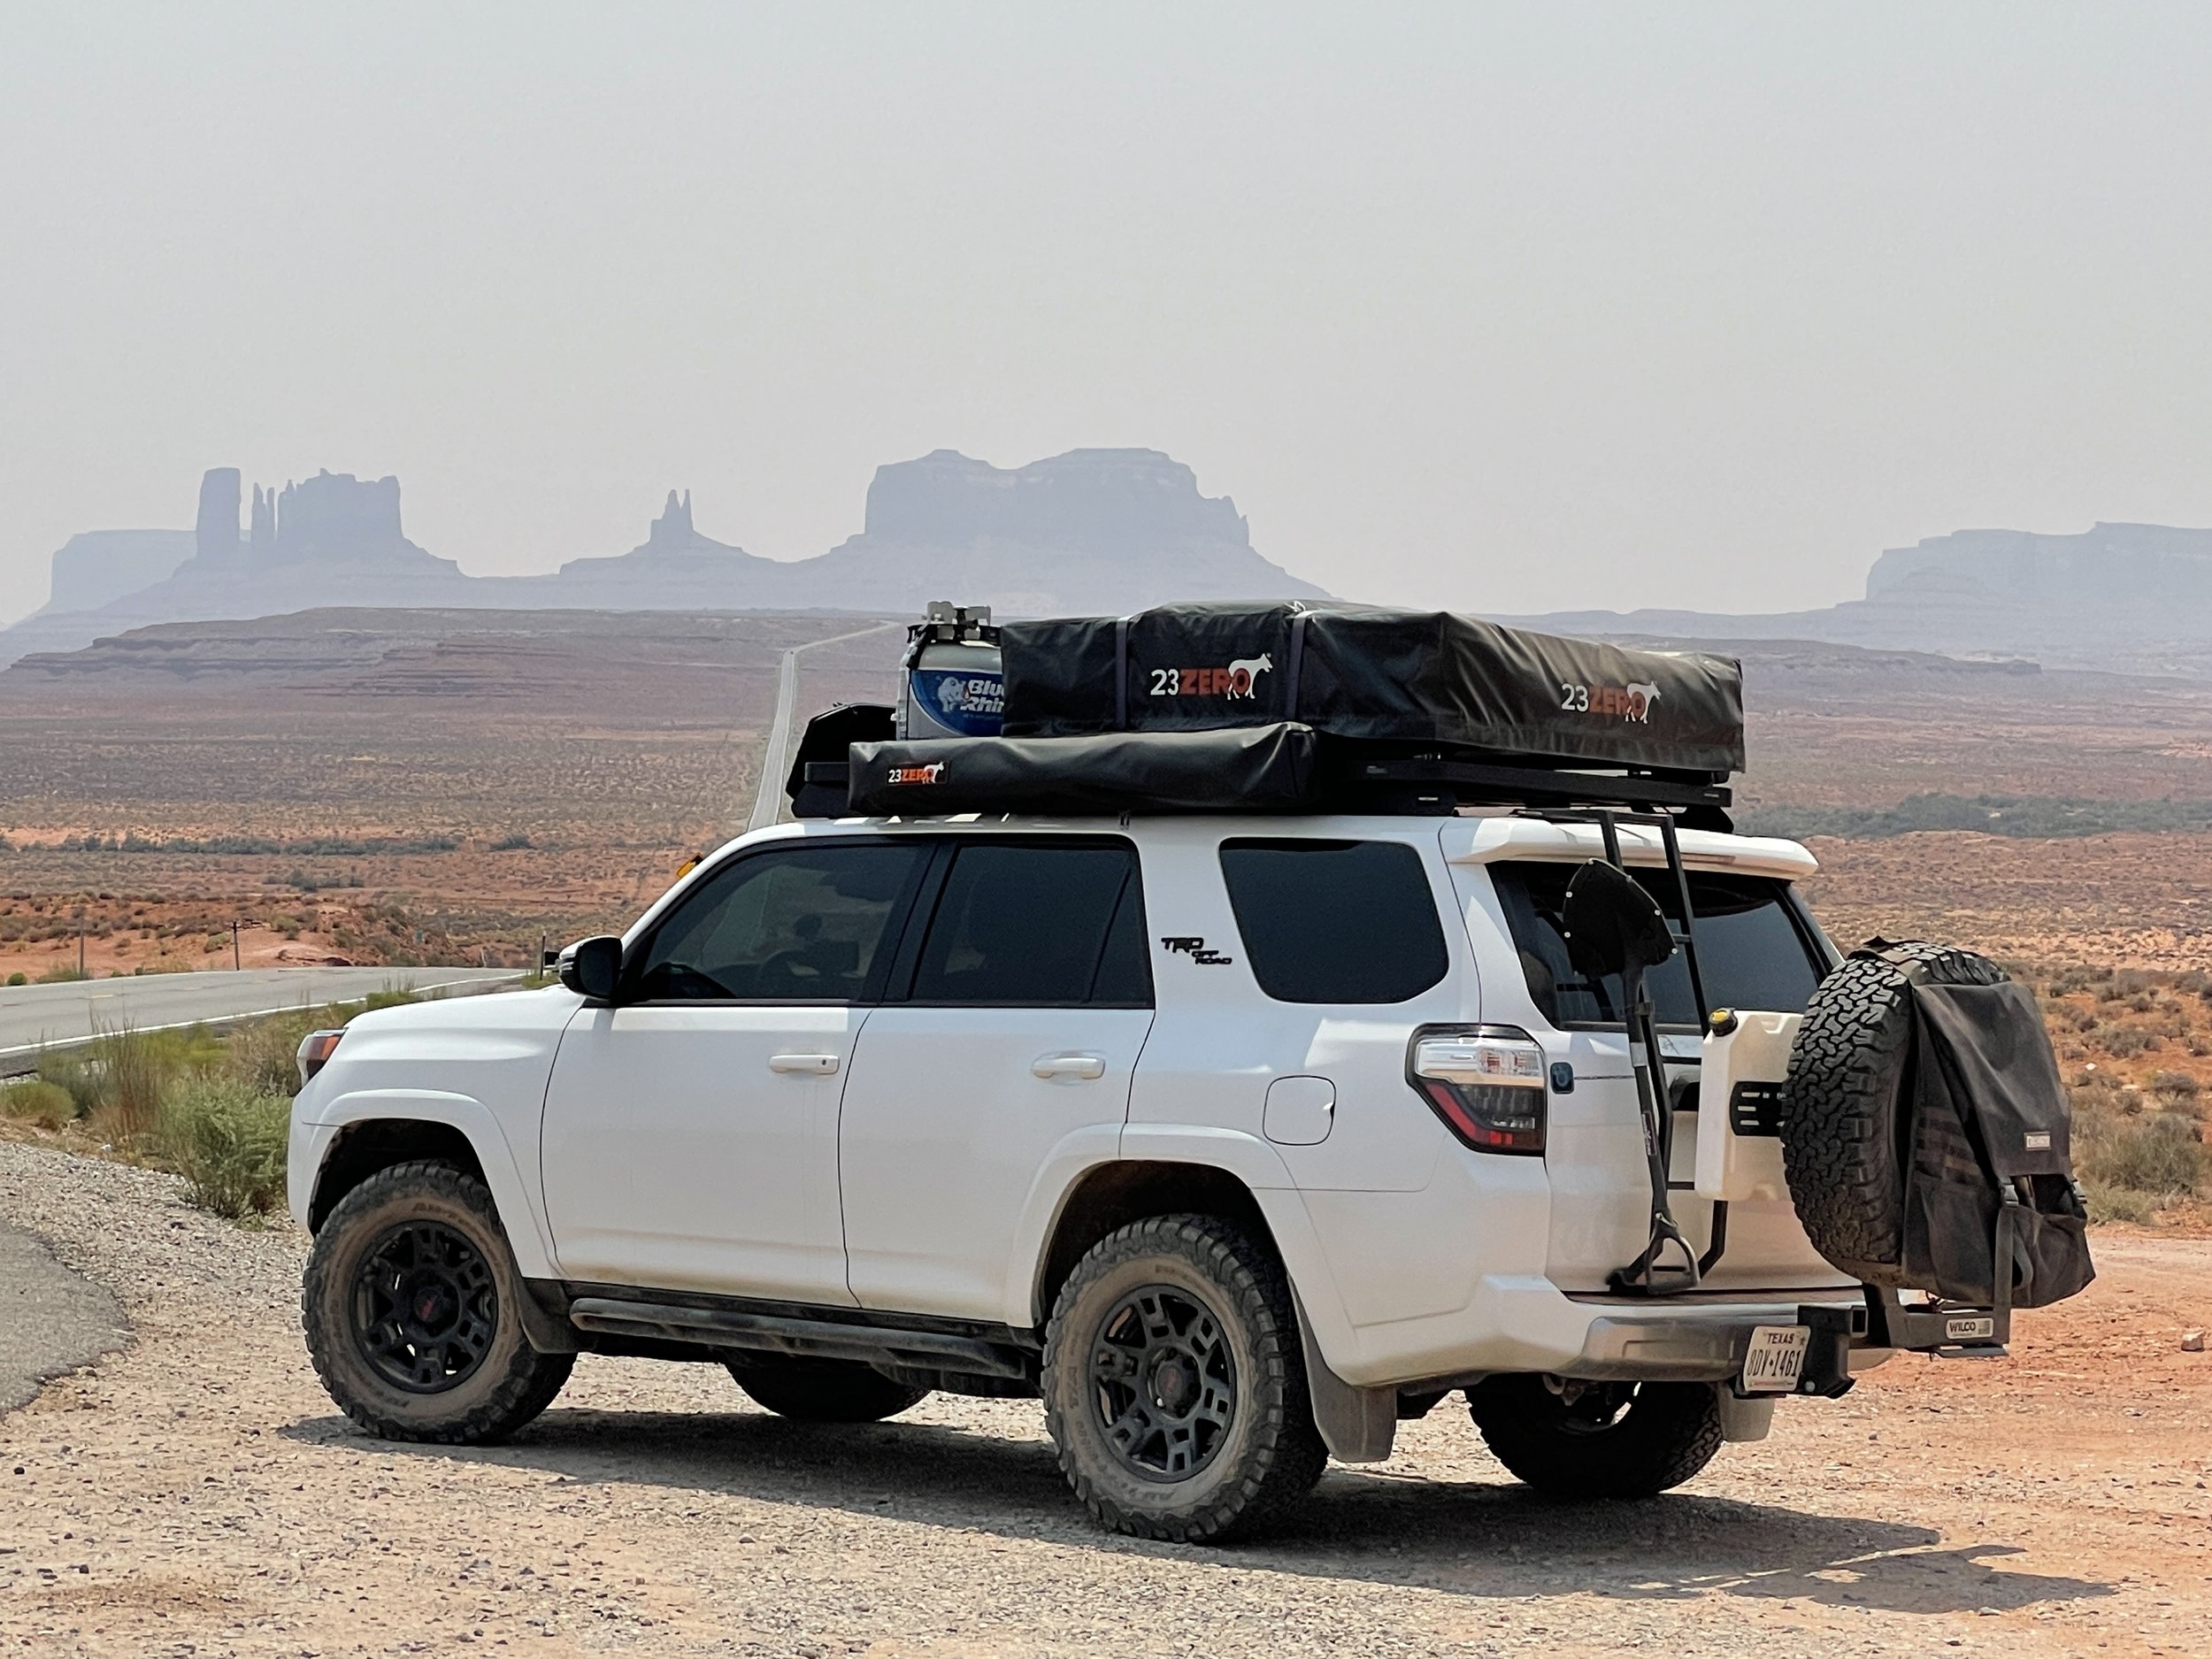
Using the headlamp is also a powerful tool to draw the eye in and convey the story of an adventure at a breathtaking location under the Milky Way.
Low Light Lumination
Anytime you are sharing a space with others, low light lumination is your best friend. You can dial the light in to the right settings and everyone can enjoy and work at their own pace.
This technique can be overdone very easily, though. Most of the time while using a panel or Lume Cube, I use a diffuser with the brightness settings set to 1%. Even then, if you find the light to be too bright, try angling the light backwards and bounce the light off a rock to help diffuse it even further. The number one thing to remember when using external light sources is to avoid bright hot spots. The goal is to evenly disperse the light and accentuate a certain part of the landscape.
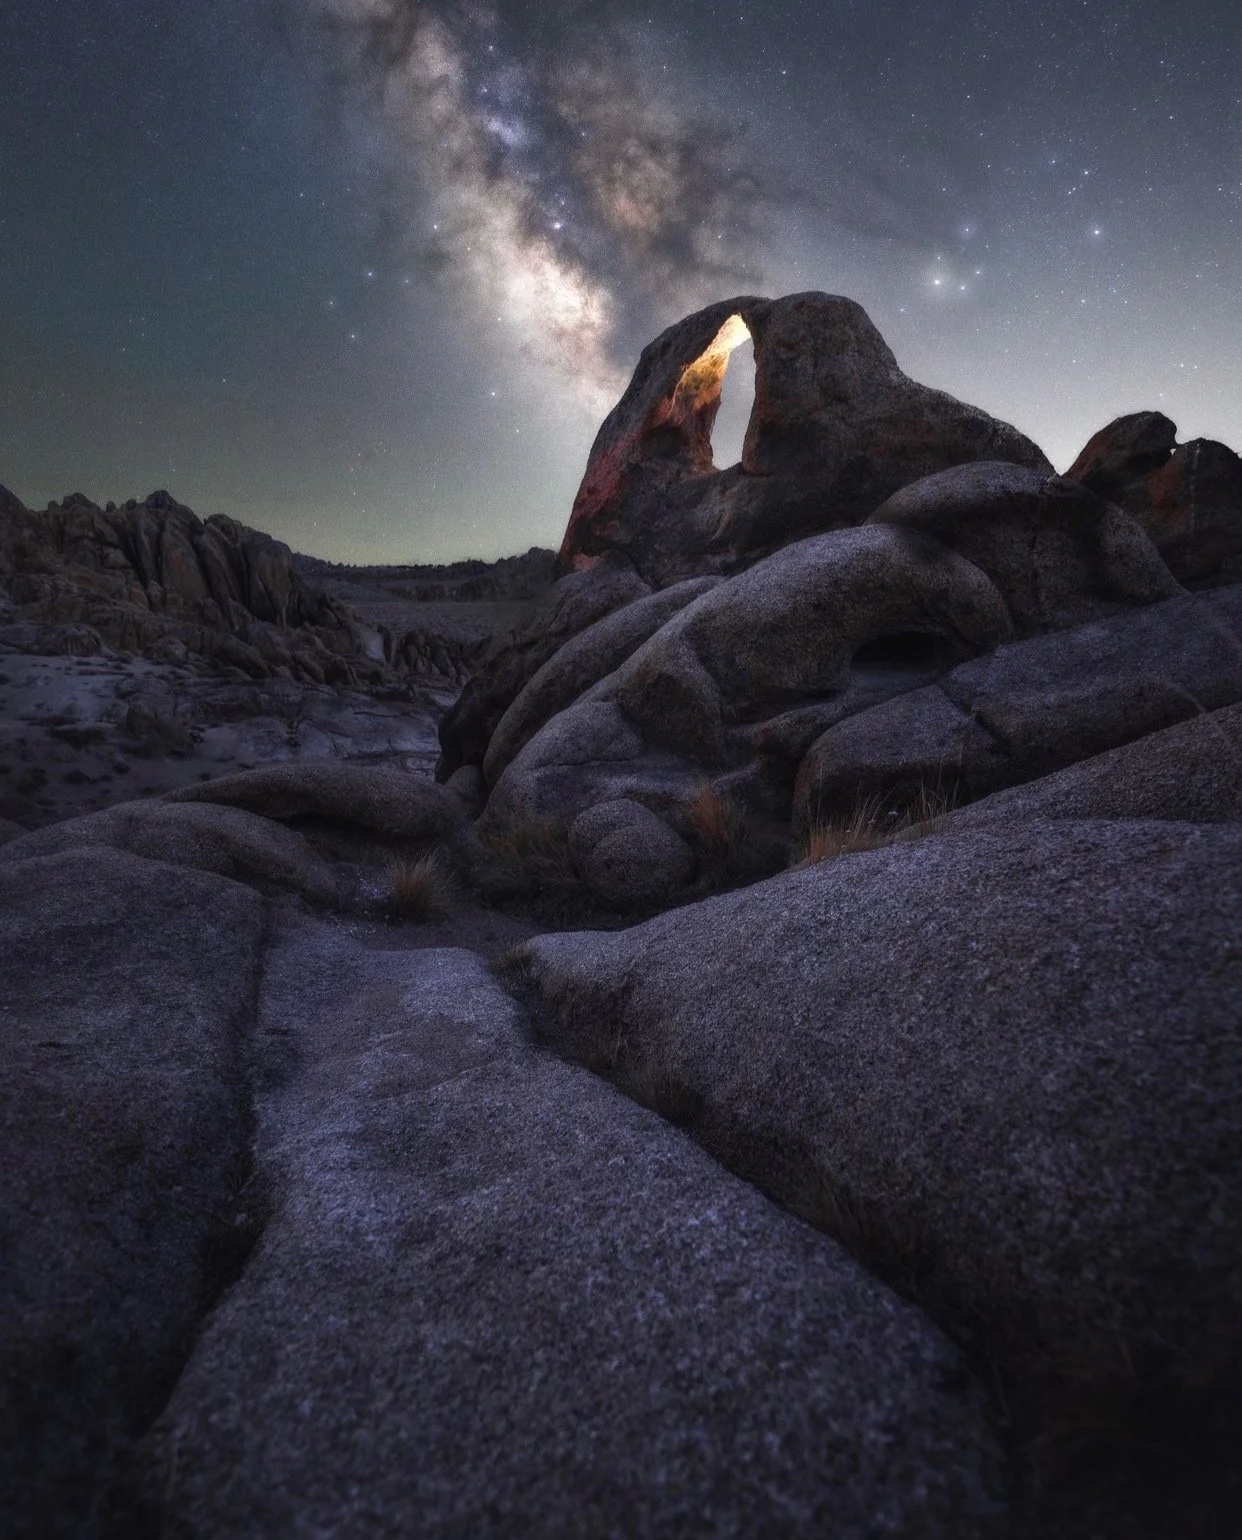
Other than working with others in the same area, I prefer this method to light up subjects further away from the camera or to help create depth by showing off the inside an arch.
Using a lume cube, I was able to control the exact amount of light I needed to help show off the arch easier and draw the eye in.

You can get creative! We lit the inside of the shack to add some depth, but also added a person in the frame for part of the exposure to give the illusion of a ghostly shadow haunting the ghost town.
Lastly, while using any light painting, be mindful of others around trying to enjoy the night skies or photograph the same area. If others are around, it’s always best to ask if they mind or if light would be in their way. Also keep in mind some National Parks don’t allow any light painting or artificial light at all and is strictly prohibited. We all want to improve our photos but most importantly we want everyone to be able to enjoy these incredible areas and the night sky!
There are countless tools and techniques that can help you with light painting, these are just a few ways to light a night scene that I seem to use the most often.