How To Use Nikon’s In Camera Focus Stacking
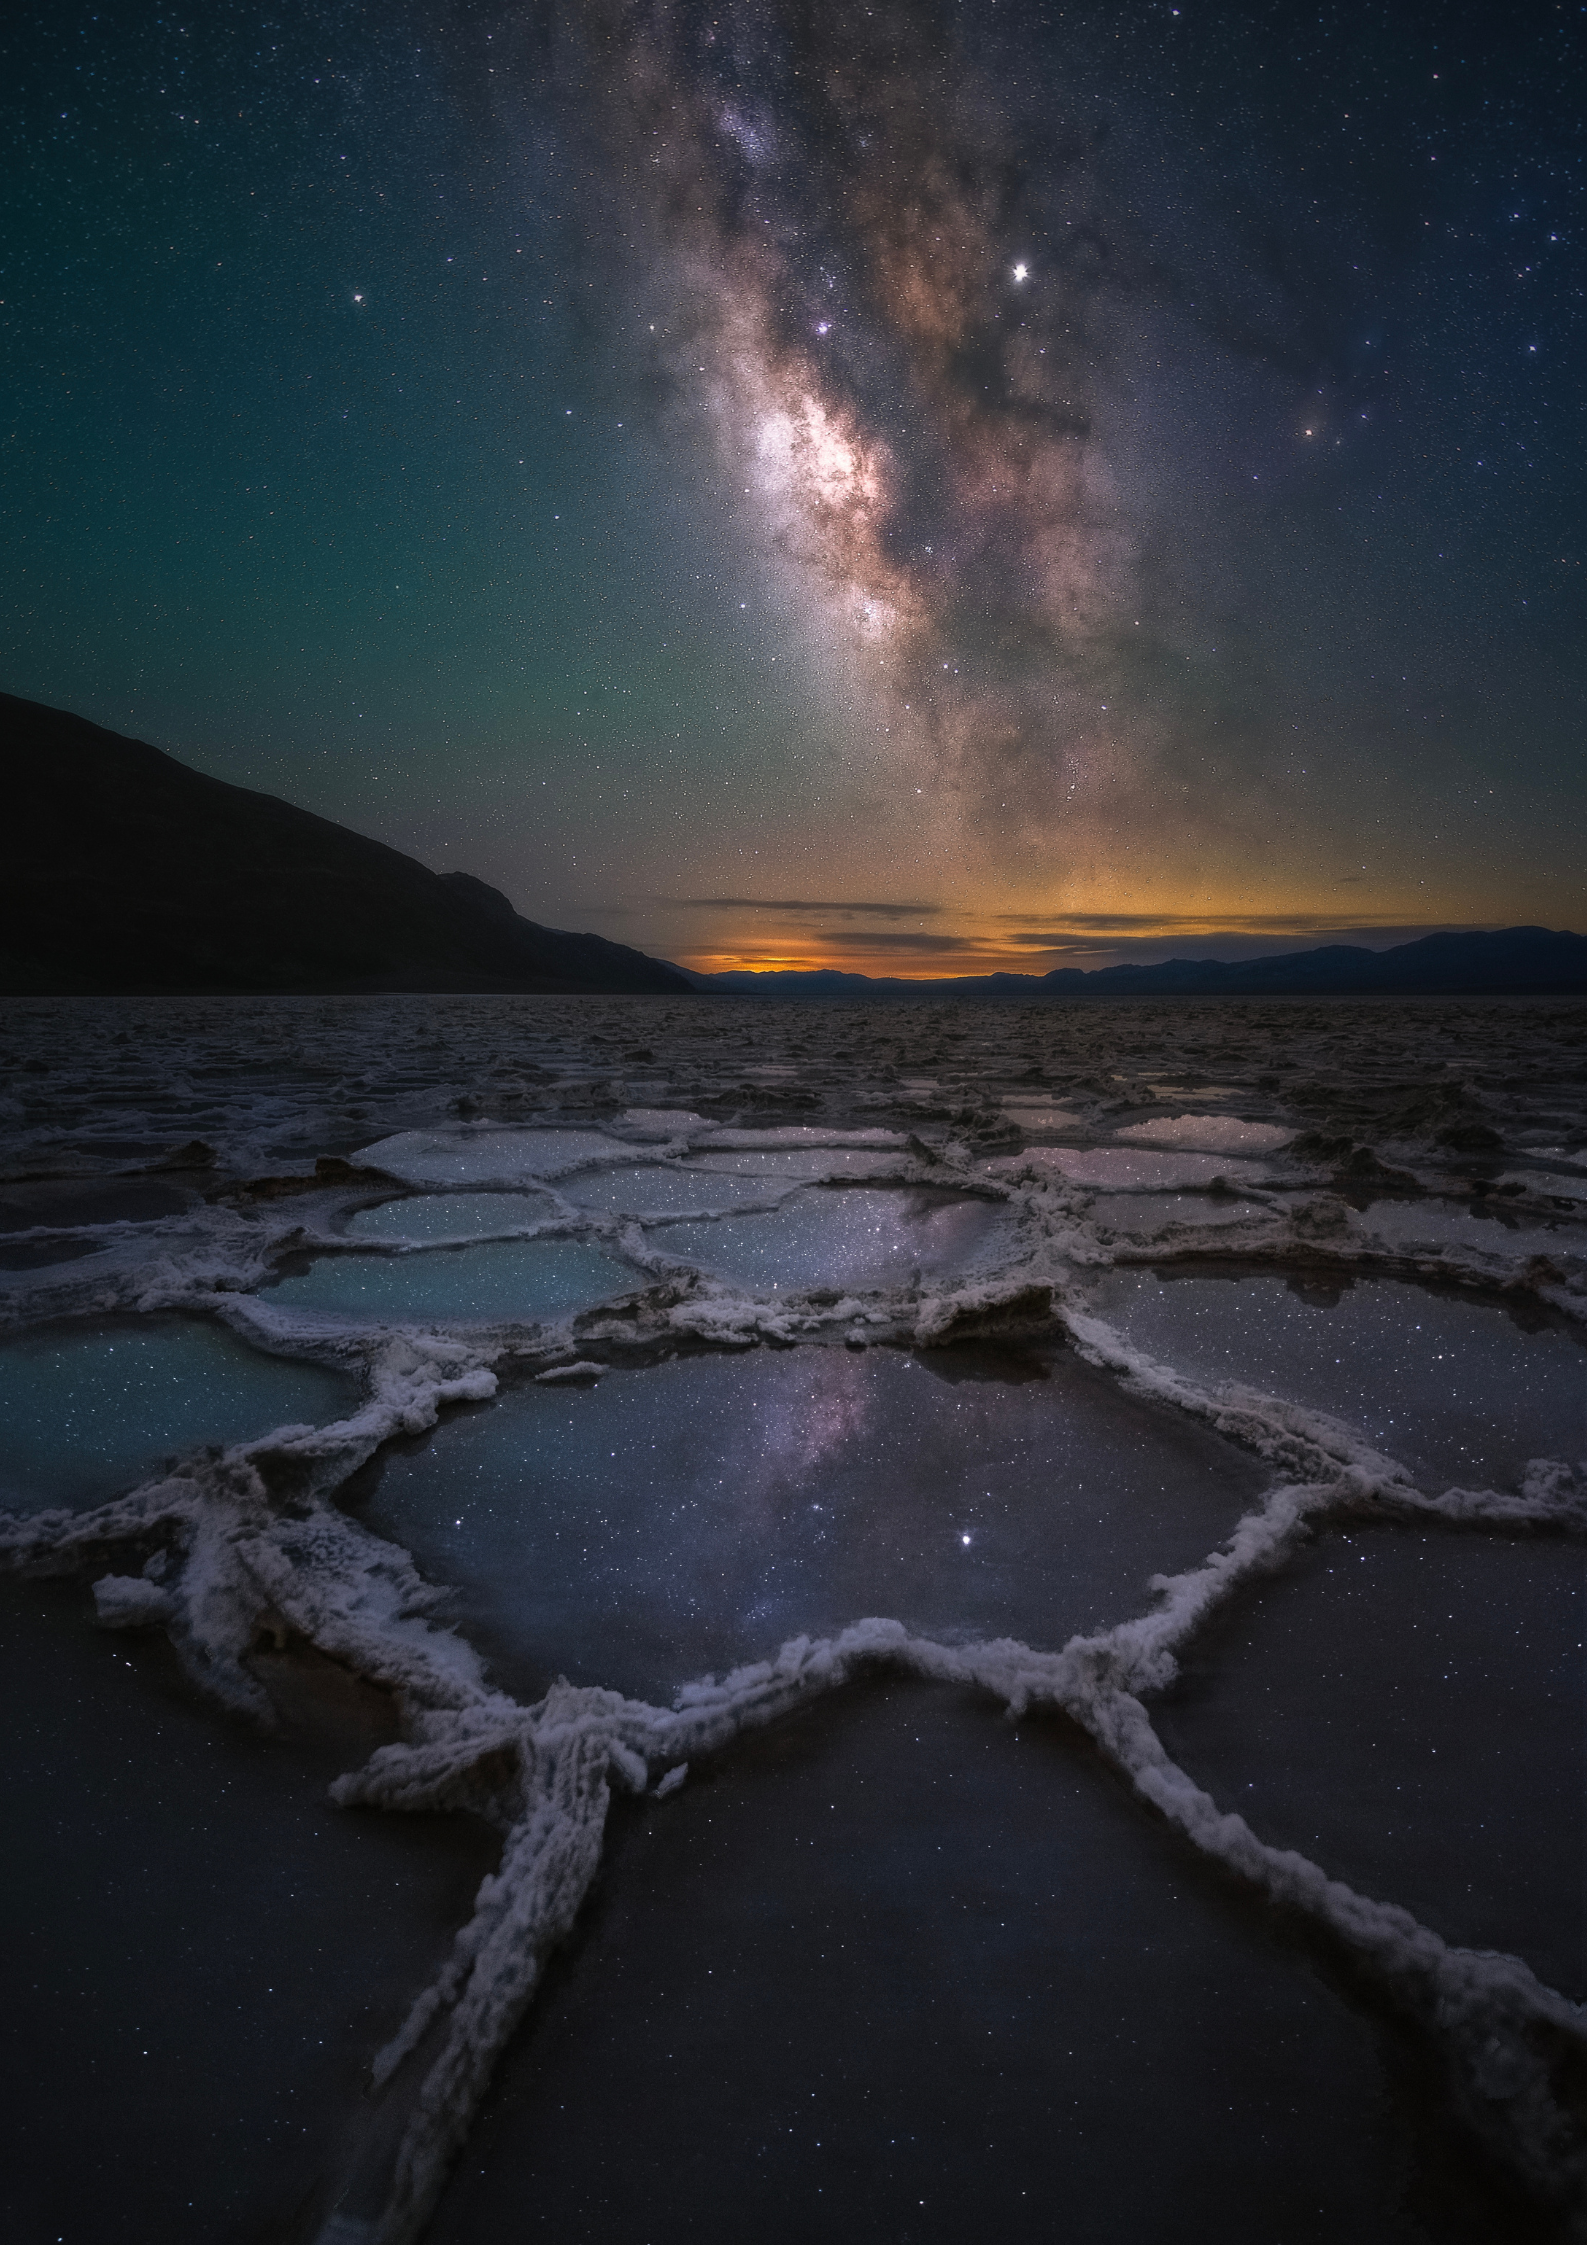
Focus stacking is a fantastic way to add depth of field and have every detail crisp and sharp throughout the entire image! When foreground objects are too close to the lens, this technique gets both the foreground and the background in focus without using a high aperture and causing softening due to diffraction.

Foreground in focus.

Background in focus.

2 Images Focus Stacked
If you are shooting with a Nikon D850, Nikon Mirrorless Canon, R6 or RP, their is a automatic in-camera focus stacking feature that will make your life a lot easier! You’ll need to blend the focus stacked images software, but this mode will automatically move the focus of the lens between shots.
How to Set Up Focus Shift Shooting
You can find the Focus Shift Shooting menu second from last in the Photo Shooting Menu.

Number of Shots (up to 300)
You can choose the number of shots you want taken for the focus stacked but the camera automatically determines when there are enough shots with everything in focus typically set this number to 80 and let the camera do its thing.
Focus Step Width (1 through 10)
Choose the amount the focus distance changes with each shot - the lower values for smaller steps, higher values for larger steps. I typically keep this number at 2.
Interval Until the Next Shot (between 0 and 30 seconds)
The amount of seconds between shots. Select 0 to take photos at 5 fps (make sure S, CL, CR, and MUP release modes are on)
Exposure Smoothing
The camera will adjust the exposure for each new shot to match the previous shot. I keep this off since I am always shooting in Manual mode.
Silent Photography
This silences the shutter during shooting, but more importantly reduces camera shake. When focus stacking everything in focus is obviously the highest priority so I keep silent photography OFF for that reason.
Starting Storage Folder
This creates a new folder for each new focus stacked sequence prefer not to use this but is very useful for organizing if you don’t have a system down already.
Before you hit that start button you need to make sure your focus on the closest point for each stack. This is very important step!
Now we are focus on the closest point and is settings are set, scroll up to ‘Start’ and hit the ‘OK’ button.
Reminder: shooting multiple stacks, sure to refocus the nearest point almost every time.
During Focus Shift Shooting
While the camera is performing the focus shift, an ‘INT’ icon will flash in the info display on top of the camera. Right before the next shot, the number of shots remaining will show up where the shutter speed usually is.
Focus Stacking Software
Now all of our stacked images still need to be put together.